Change Format Specifications - Internal
General Tab
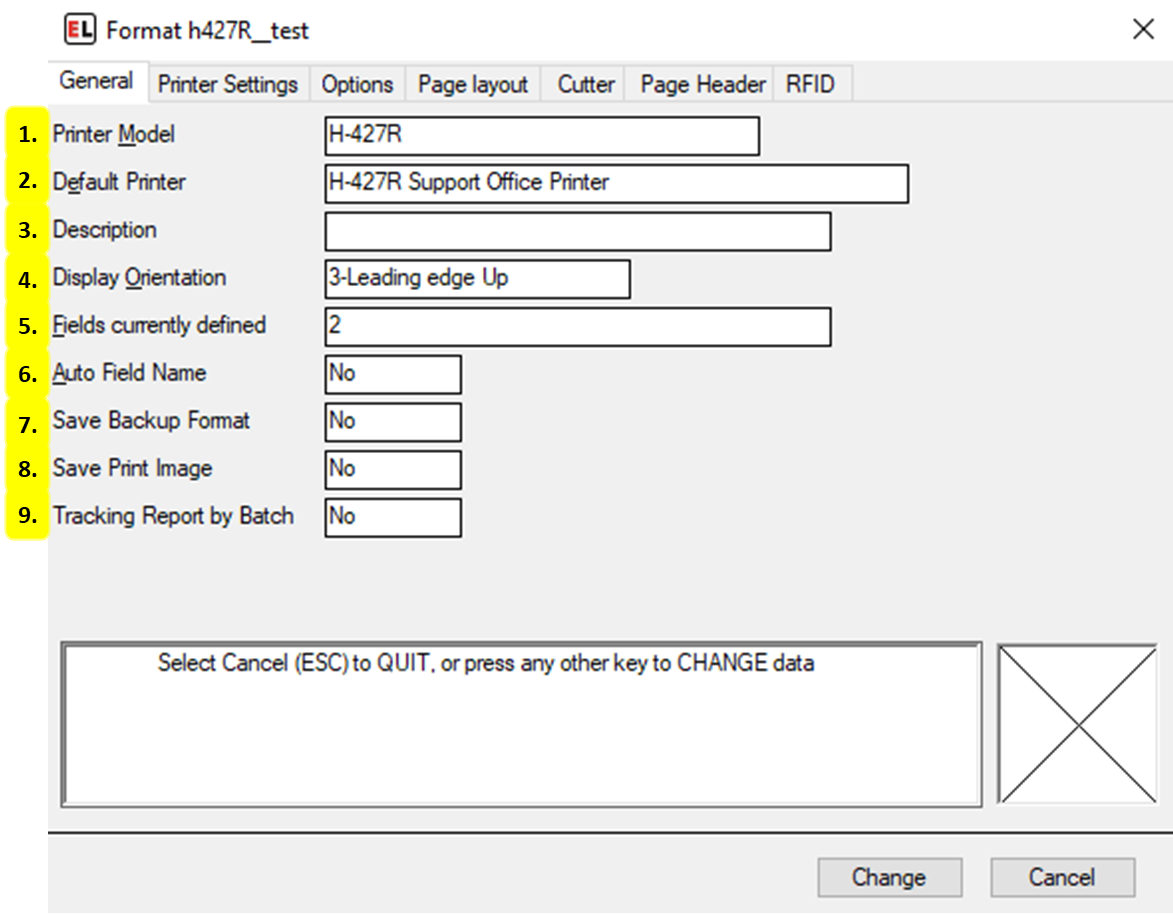
Printer Model
Select the desired printer model for the format. This field reads printer models from the Printer Configuration menu. For more information see Printer Configuration.
Default Printer
When using multiple printers of the same model, select the desired printer. This field reads printer names from the Printer Configuration menu. For more information see Printer Configuration.
Description
An optional note that can be used to provide additional format information.
Display Orientation
Select the orientation used to view the format on the display screen. This does not affect the printing of the format, it is for easier designing. The arrow indicates direction of paper motion.
Fields currently defined
View the amount of fields currently defined on the label format. Selecting the text prompt box allows for more information to appear in the help area below.
Auto Field Name
Select Yes to have field names automatically generated. Select No to leave them empty when creating new fields.
Save Backup Format
Save a backup copy of the format any time it is changed - if Format Change History in the Program Options is also enabled.
Save Print Image
Save an image file of print jobs for tracking or auditing purposes - if Create Print Images in the Program Options is also enabled.
Tracking Report by Batch
Select Yes to update the format tracking report for each batch of labels printed. This can be used to record the data of RFID tags, increment/decrement fields, and database printing. Note that this will slow down the printing process. The default - No - will update the tracking report only at the end of the job.
Printer Settings Tab
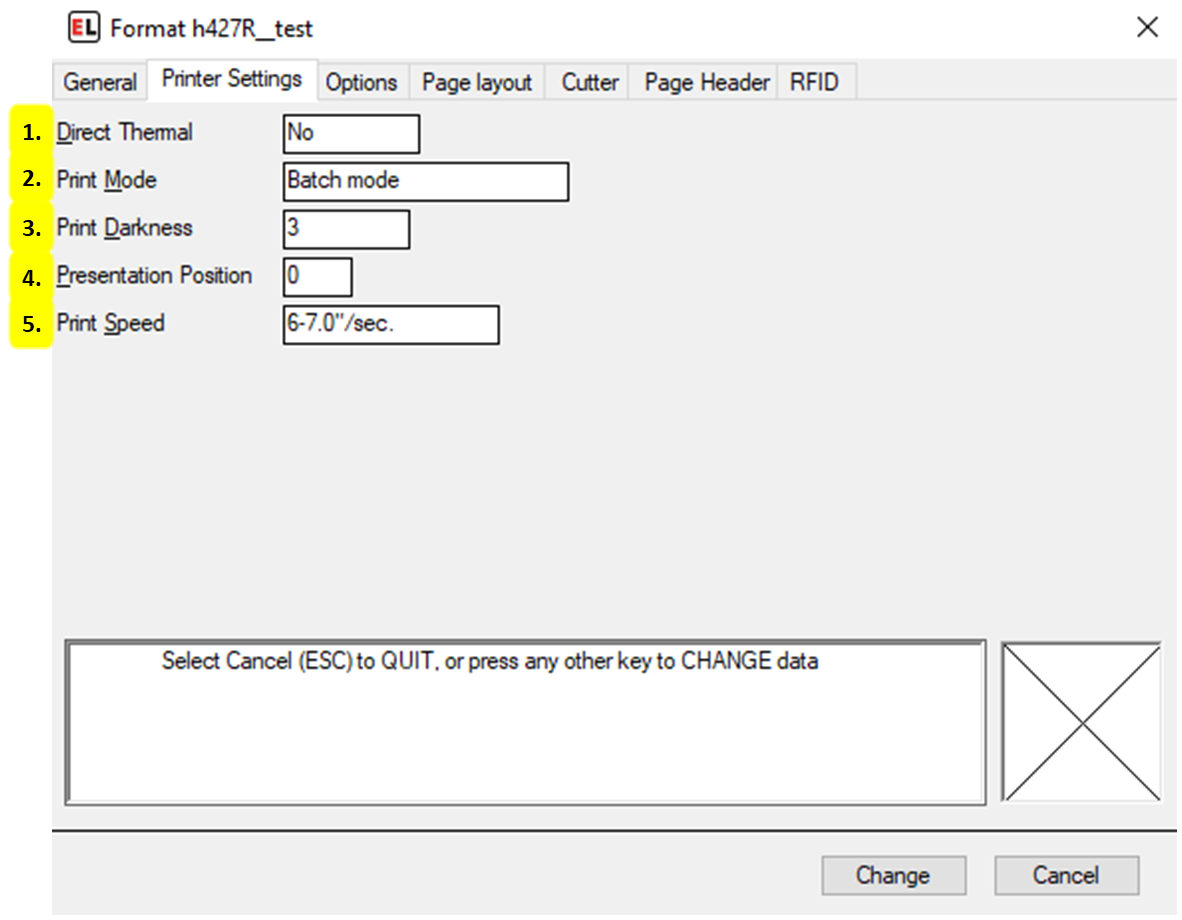
Direct Thermal
Select No if transfer printing with ribbon. Enter Yes if printing on thermal paper without a ribbon.
Print Mode
Select between print modes - Batch mode, Peel/Tear off mode, Applicator.
Print Darkness
Enter a number to set the desired print darkness from 1 (lightest printing) through 20 (darkest printing). Note that print quality is controlled by the print speed and darkness settings.
Presentation Position
Enter a number in inches or millimeters to adjust the stopping position of a completed label. Positive numbers cause the label to be fed out further.
Print Speed
Select the desired print speed. Note that print quality is controlled by the print speed and darkness settings.
Options Tab
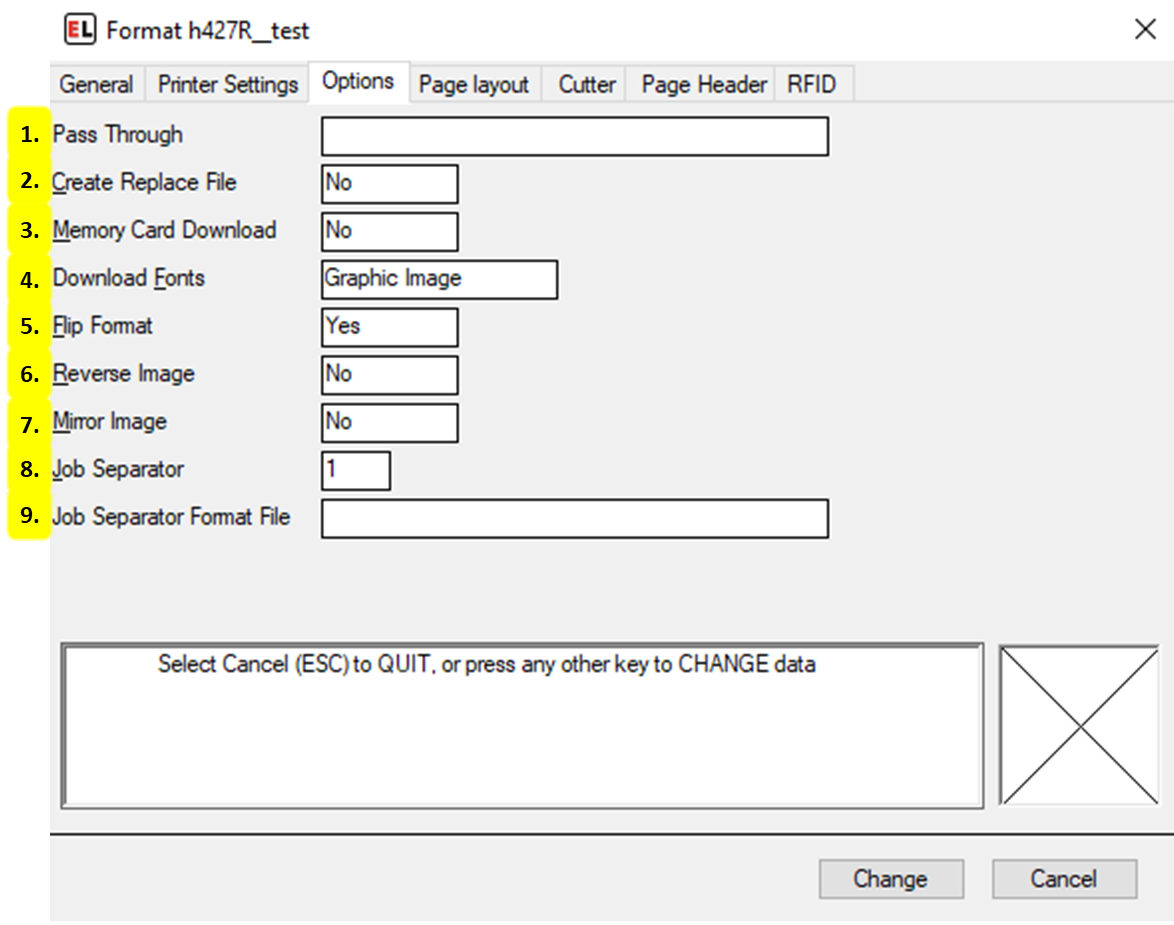
Pass Through
Enter the data that should be send to the printer before sending the format. Data contained within “< >” such as
will be treated as special unprintable characters. Create Replace File
If Memory Card Download is enabled, select Yes to create a file to be sent directly to the printer. This file will contain all format information and does not communicate through EasyLabel.
Memory Card Download
Select Yes to mark this format to be intended for memory card download. Note that some software features will be unavailable during label creation due to printer and memory card limitations.
Download Fonts
Select text field download method. Graphic Image downloads each field as an image of the text. Bitmap Font downloads a fixed size bitmap image for each unique character in the text field. TrueType Font downloads the entire TrueType font file and is preferred if the format contains many text fields that use the same font.
Flip Format
Select Yes to flip the format 180 degrees.
Reverse Image
Select Yes to print in reverse - white lettering on a black background.
Mirror Image
Select Yes to print the format as a mirror image.
Job Separator
Enter the number of labels or label rows to feed between jobs. Enabling this option creates the Job Separator Format File selection.
Job Separator Format File
Enter the path to the label format that will be used as a Job Separator. If left blank, then blank labels will be used as the Job Separator.
Page Layout Tab
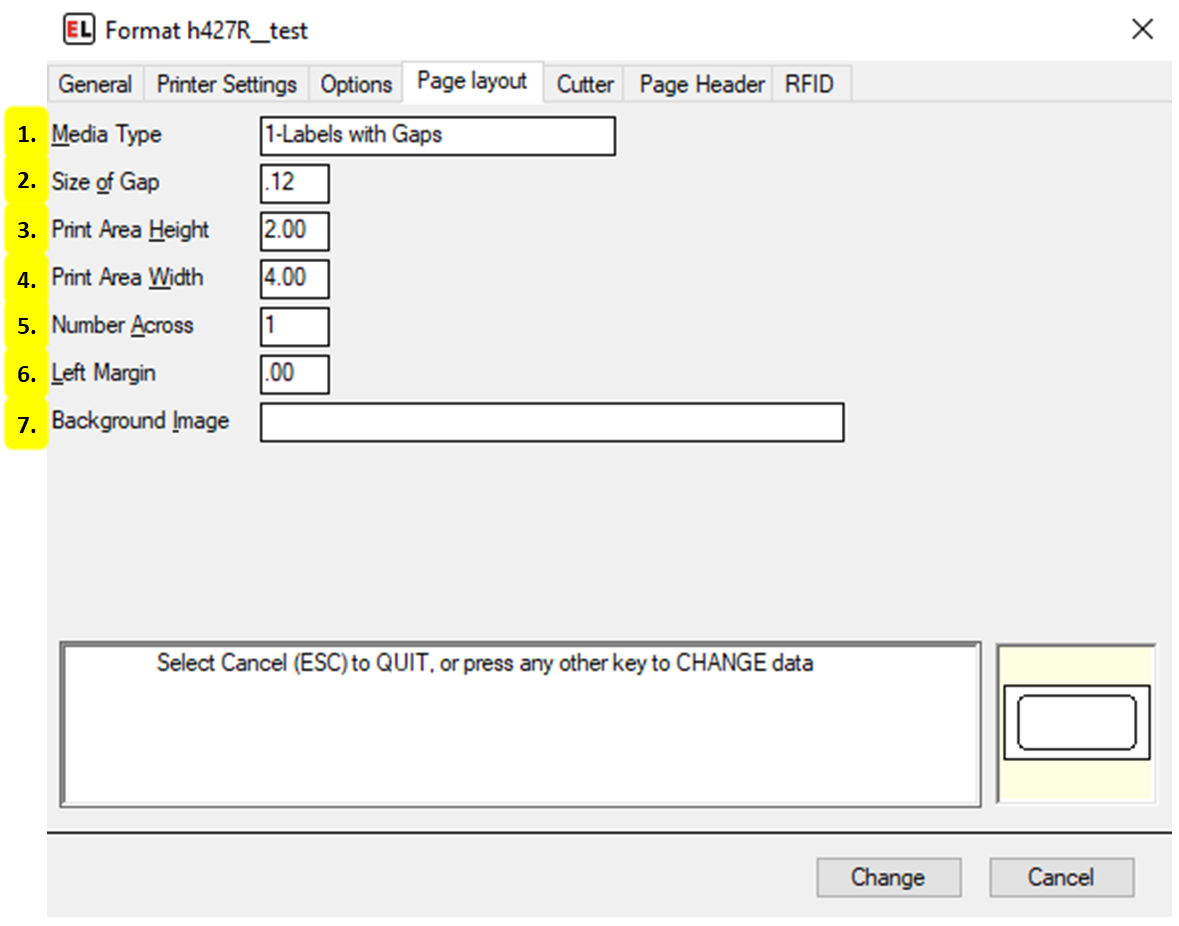
Media Type
Select between types of media to be used when printing: Labels with Gaps, Continuous Media, Black Mark - Reflective.
Size of Gap
Enter the size of the gap between labels in inches or millimeters.
Print Area Height
Enter the height of the print area in inches or millimeters. This is the size of each format along the direction of the paper motion.
Print Area Width
Enter the width of the area to contain data on the format in inches or millimeters.
Number Across
Enter the number of formats across the width of the web or page.
Left Margin
Enter the horizontal offset of the print image area from the left edge of the paper in inches or millimeters.
Background Image
Select an optional background image file.
Cutter Tab
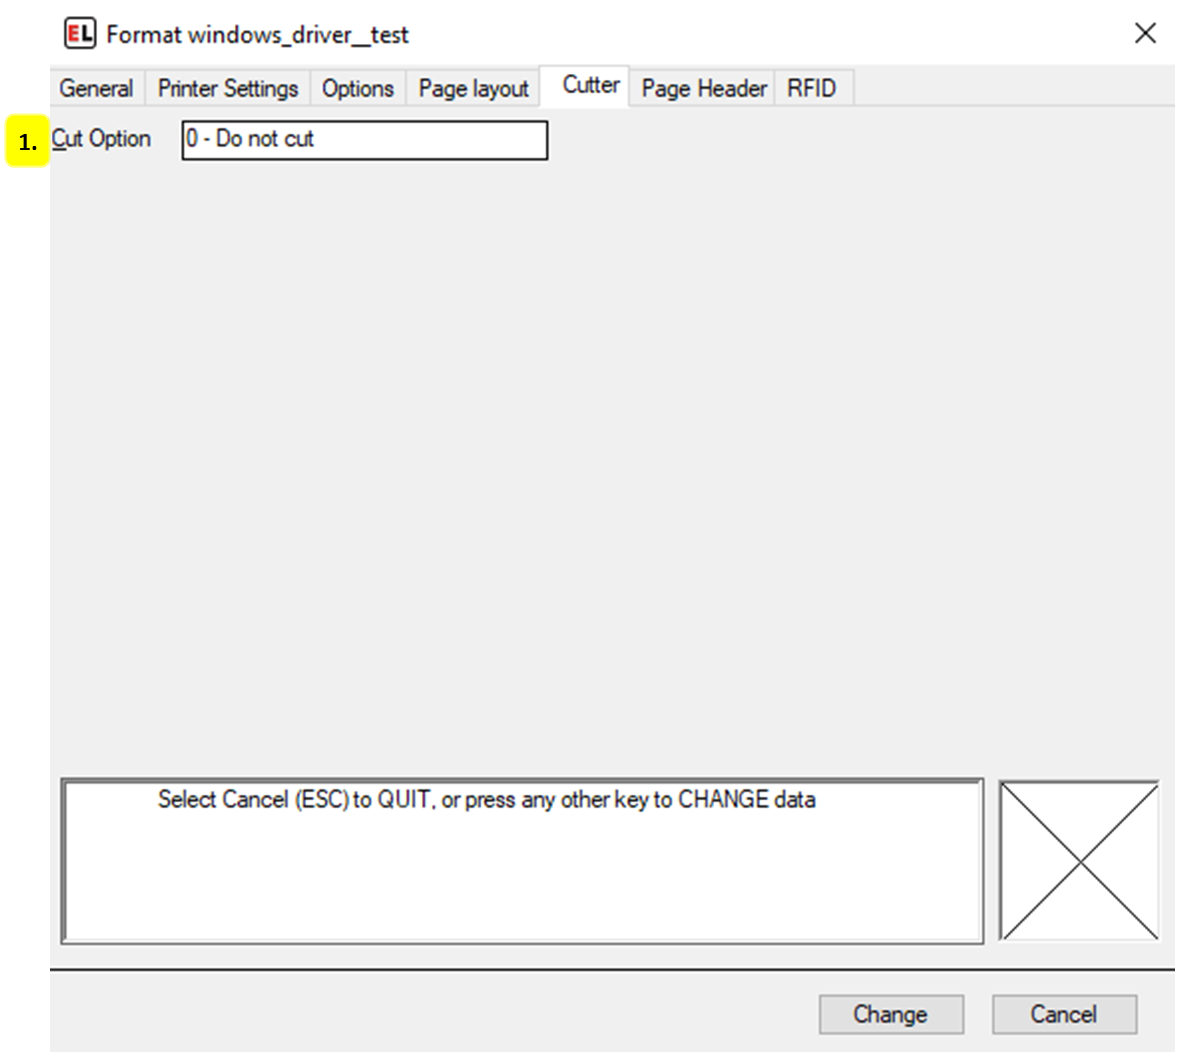
Cut Option
Select the specifications for how to cut the label.
Page Header Tab
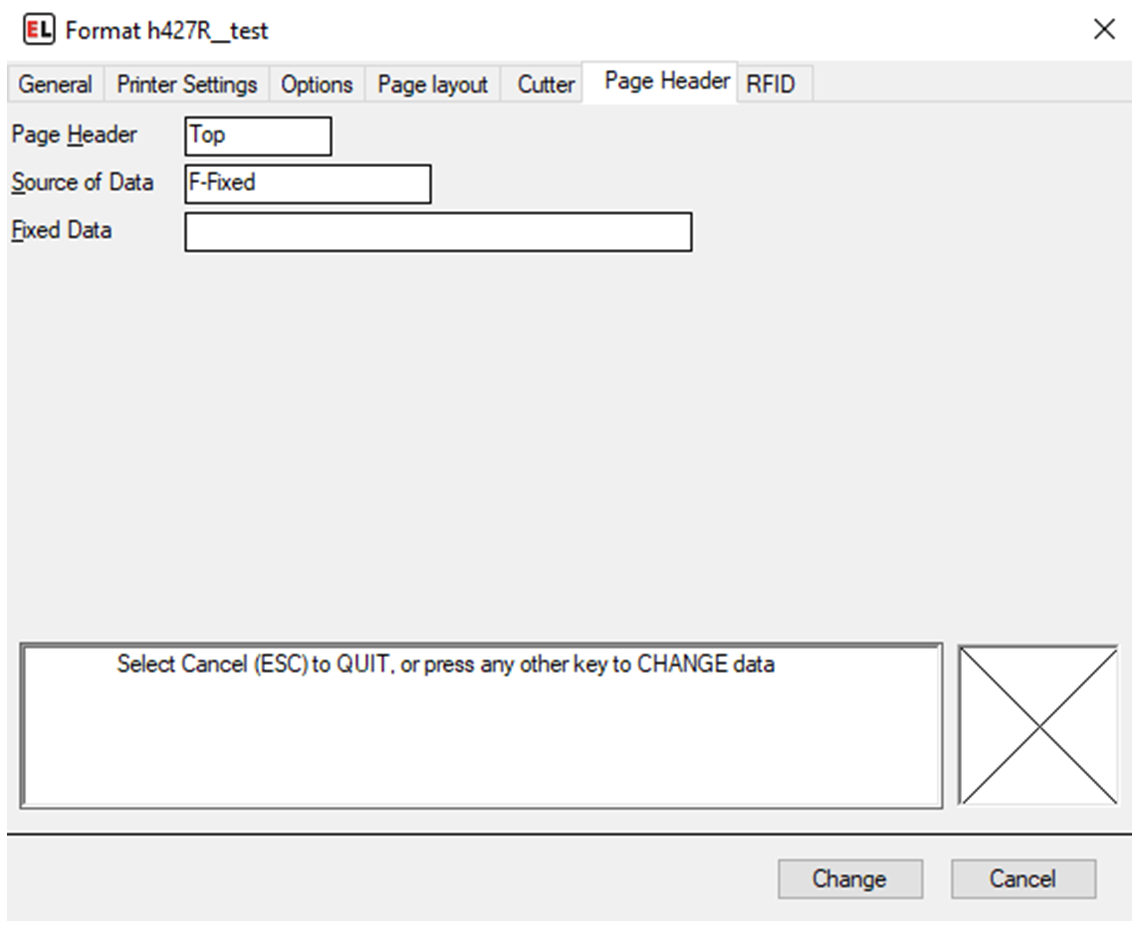
If using a Windows driver, Page Header options will be available. For more information see the page header tab section for Windows drivers
RFID Tab
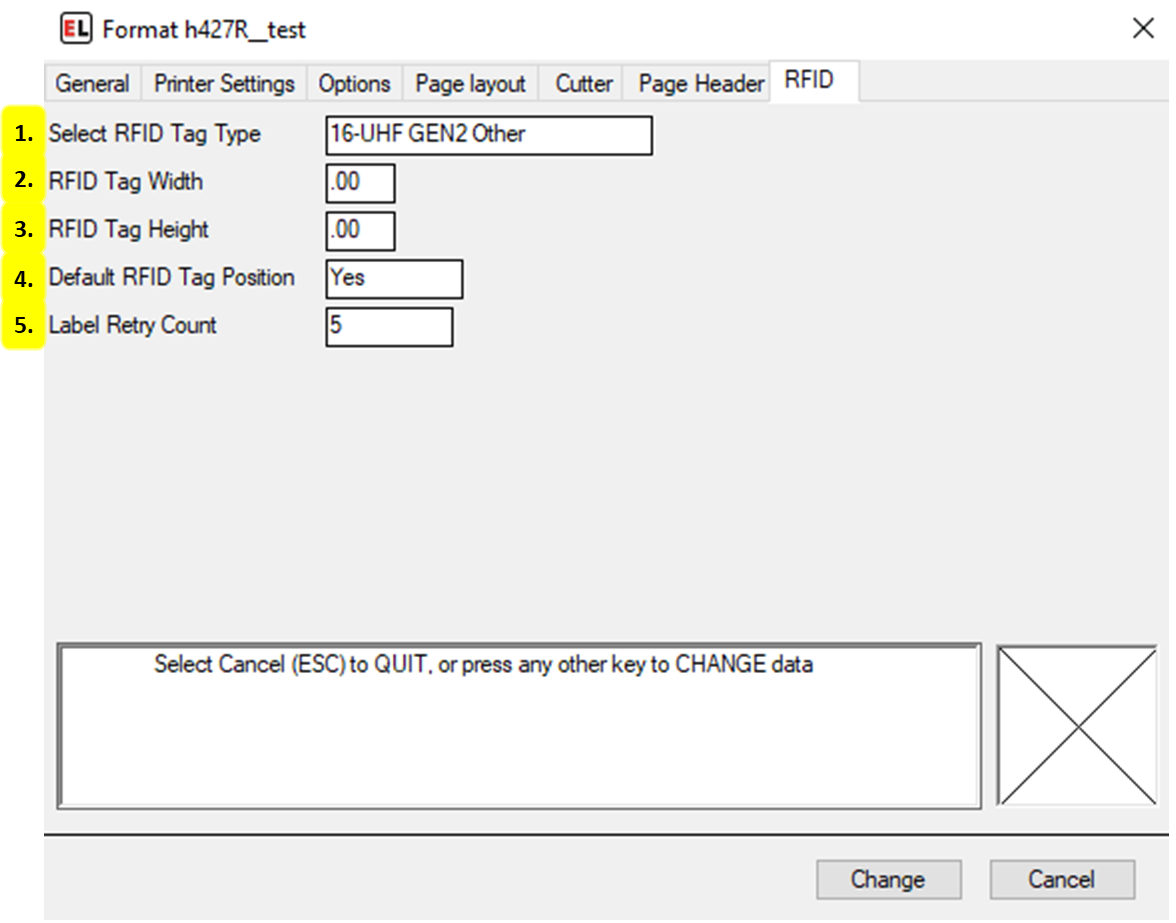
Select RFID Tag Type
Select an RFID Tag Type that matches the RFID Tag embedded in your smart label.
RFID Tag Width
Enter the width of the RFID Tag in inches or millimeters.
RFID Tag Height
Enter the height of the RFID Tag in inches or millimeters.
Default RFID Tag Position
Select Yes if using smart labels created to the specifications of your printer’s manufacturer. Otherwise, select No and use the user-entered positioning values.
Label Retry Count
The number of labels to retry in case of an error accessing the RFID tag. If an error occurs while accessing the RFID tag, the label is voided and additional labels are attempted, up to the maximum specified by this retry count.
