Change Format Specifications - Windows
General Tab
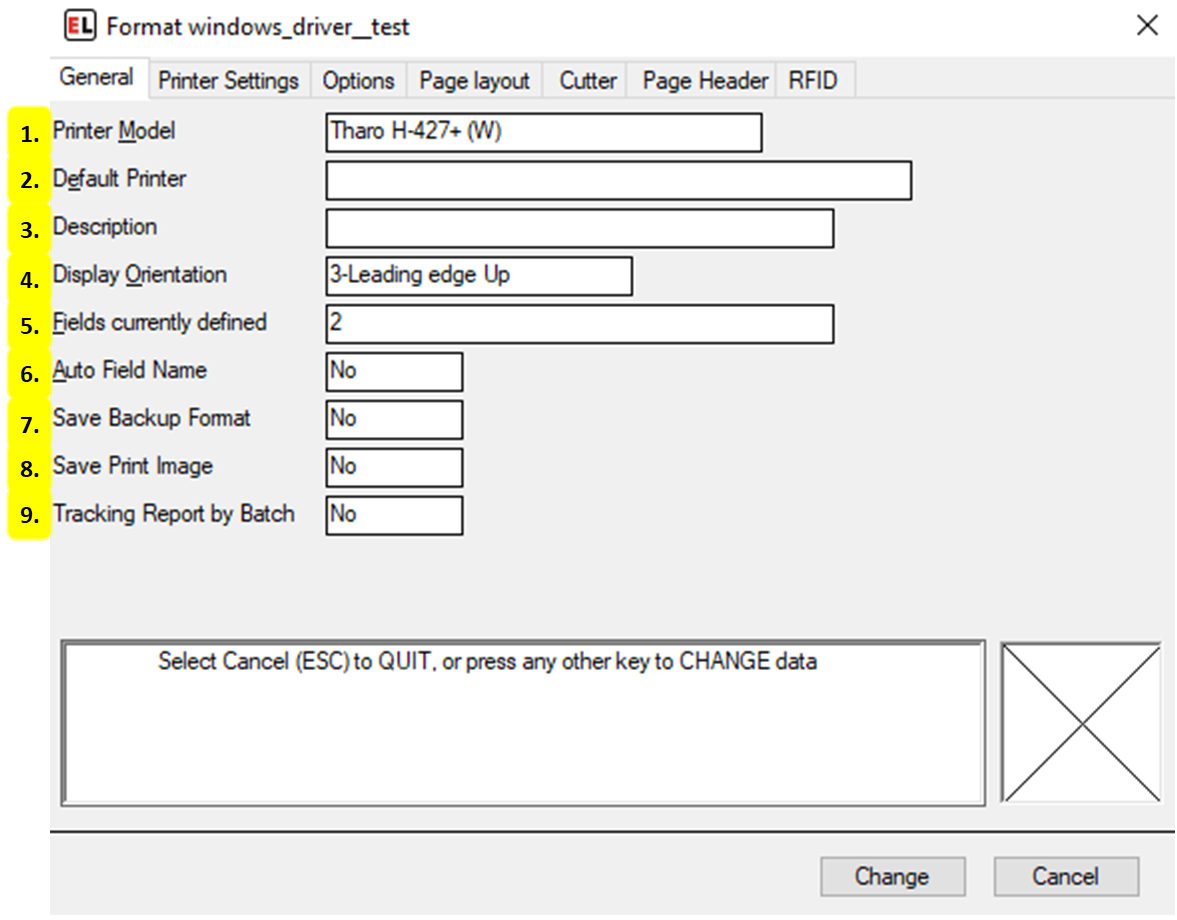
Printer Model
Select the desired printer model for the format. This field reads printer models from the Windows Devices and Printers menu.
Default Printer
While using an internal EasyLabel driver, if using multiple printers of the same model, select the desired printer. This field reads printer names from the Printer Configuration menu. For more information see Printer Configuration.
Description
An optional note that can be used to provide additional format information.
Display Orientation
Select the orientation used to view the format on the display screen. This does not affect the printing of the format, it is for easier designing. The arrow indicates direction of paper motion.
Fields currently defined
View the amount of fields currently defined on the label format. Selecting the text prompt box allows for more information to appear in the help area below.
Auto Field Name
Select Yes to have field names automatically generated. Select No to leave them empty when creating new fields.
Save Backup Format
Save a backup copy of the format any time it is changed - if Format Change History in the Program Options is also enabled.
Save Print Image
Save an image file of print jobs for tracking or auditing purposes - if Create Print Images in the Program Options is also enabled.
Tracking Report by Batch
Select Yes to update the format tracking report for each batch of labels printed. This can be used to record the data of RFID tags, increment/decrement fields, and database printing. Note that this will slow down the printing process. The default - No - will update the tracking report only at the end of the job.
Printer Settings Tab
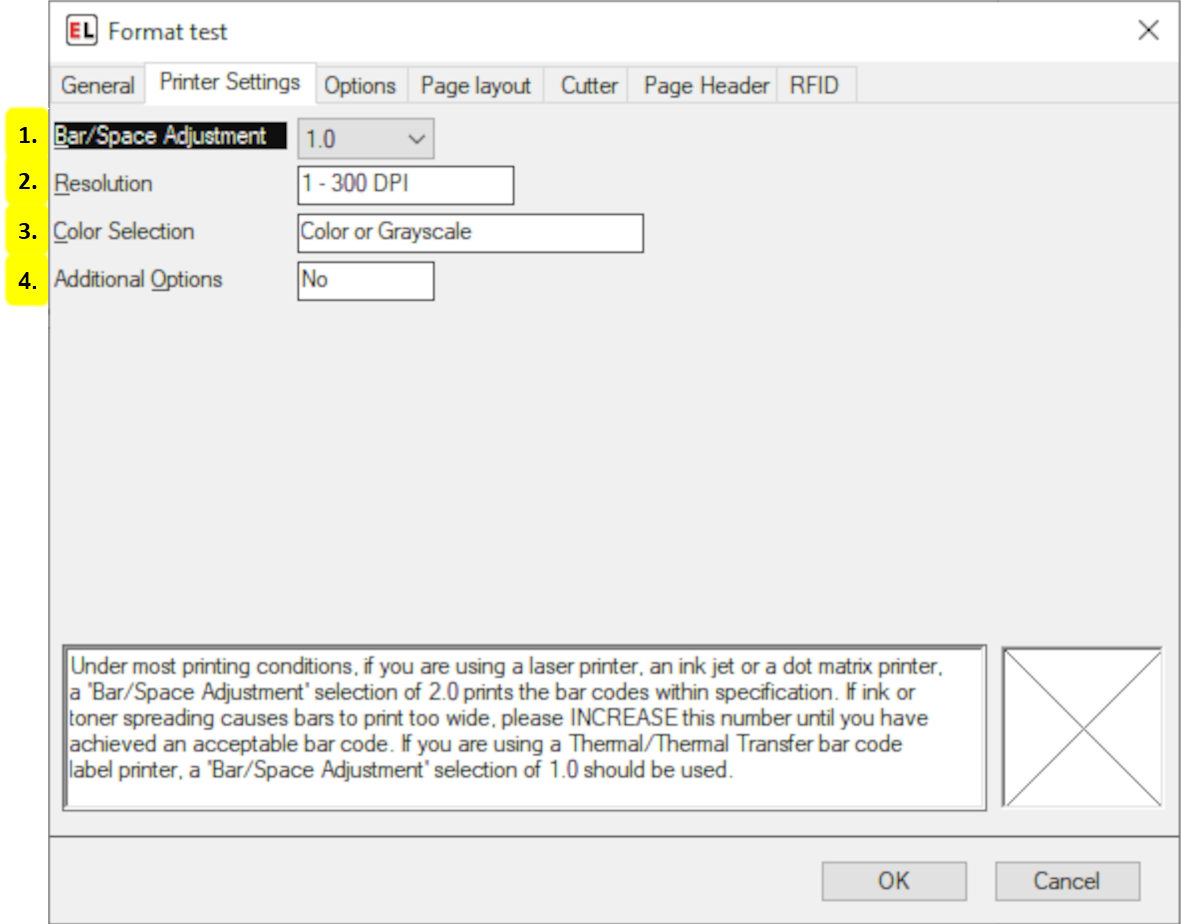
Bar/Space Adjustment
If using a laser printer, ink jet, or dot matrix printer, and ink or toner spreading causes bars to print too wide, please increase this number until you have achieved an acceptable bar code. A selection of 2.0 prints the bar codes within specification. If you are using a thermal or thermal transfer bar code label printer, a Bar/Space Adjustment selection of 1.0 should be used.
Resolution
Select the correct DPI for the label printer. Higher densities produce better character resolution.
Color Selection
If your printer has color printing as an option, select “Color or Grayscale” if your label contains colored or grayscale images or shapes. Otherwise, select Monochrome.
Additional Options
Select Yes if you need to set printer-specific options not shown. Changing these options will not effect the printer settings for other formats or windows applications.
Options Tab
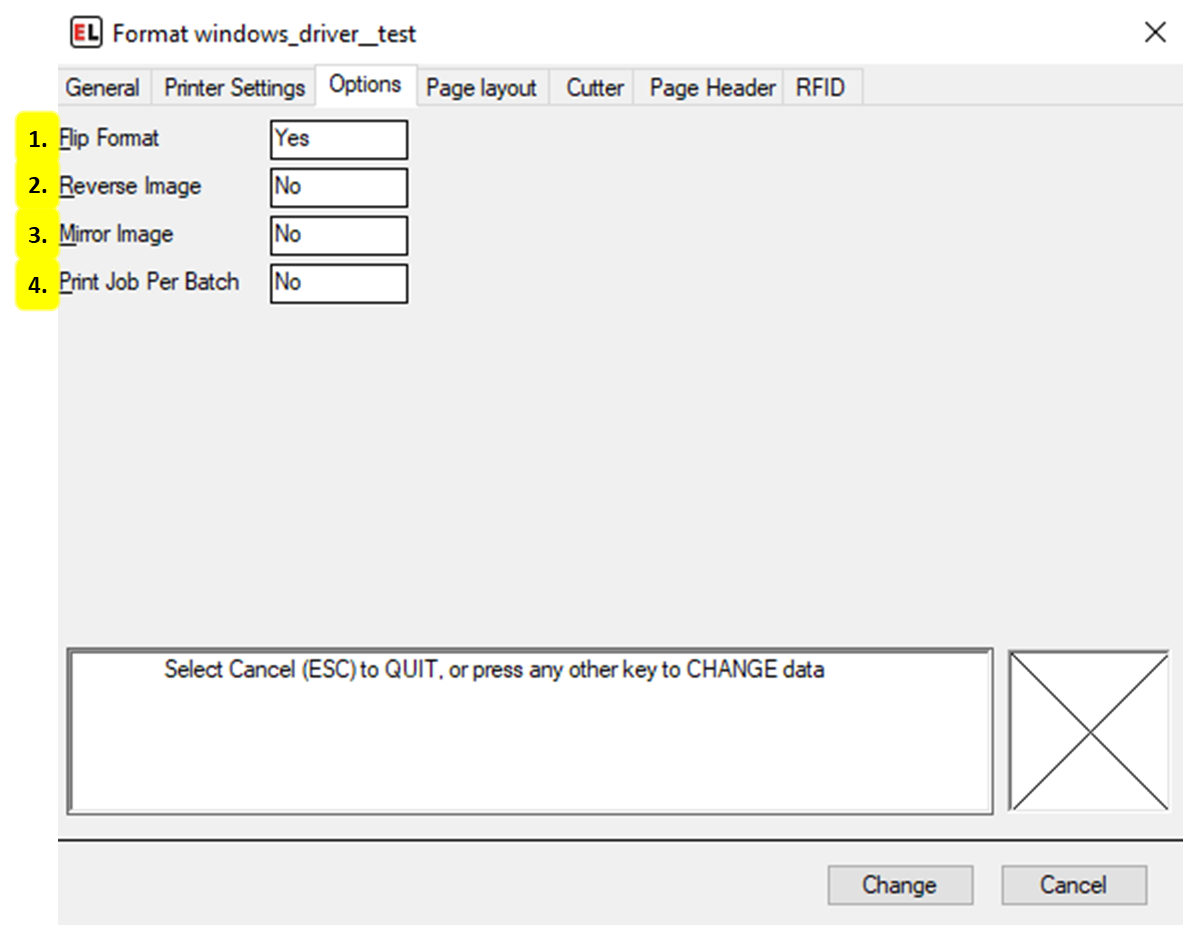
Flip Format
Select Yes to flip the format 180 degrees.
Reverse Image
Select Yes to print in reverse - white lettering on a black background.
Mirror Image
Select Yes to print the format as a mirror image.
Print Job Per Batch
Select Yes to send each batch of labels to be sent as a separate print job. This can be used to get around problems with some printer drivers.
Page Layout Tab
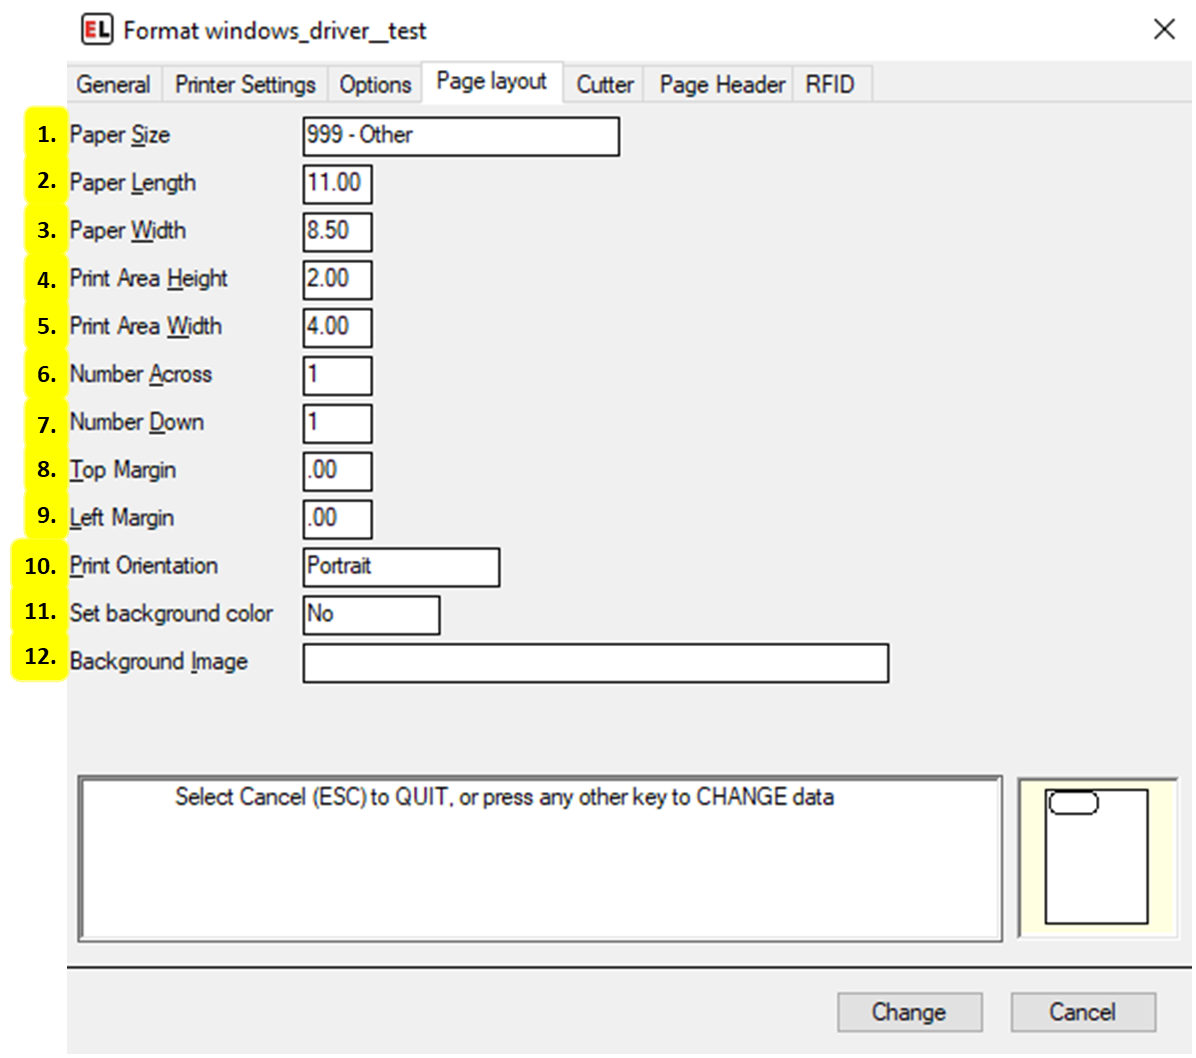
Paper Size
Select a paper size. This drop-down reads from the Printing Preferences for the printer within the Windows Devices and Printers menu.
Paper Length
Enter the length of the page in inches or millimeters - This option only appears when a user-set Paper Size is selected.
Paper Width
Enter the width of the page in inches or millimeters - This option only appears when a user-set Paper Size is selected.
Print Area Height
Enter the height of the print area in inches or millimeters. This is the size of each format along the direction of the paper motion.
Print Area Width
Enter the width of the area to contain data on the format in inches or millimeters.
Number Across
Enter the number of formats across the width of the web or page.
Number Down
Enter the number of formats down the height of the web or page.
Top Margin
Enter the distance from the top of the paper to the beginning print position in inches or millimeters.
Left Margin
Enter the horizontal offset of the print image area from the left edge of the paper in inches or millimeters.
Print Orientation
Select between Portrait and Landscape mode.
Set background color
Select an optional background color.
Background Image
Select an optional background image file.
Cutter Tab
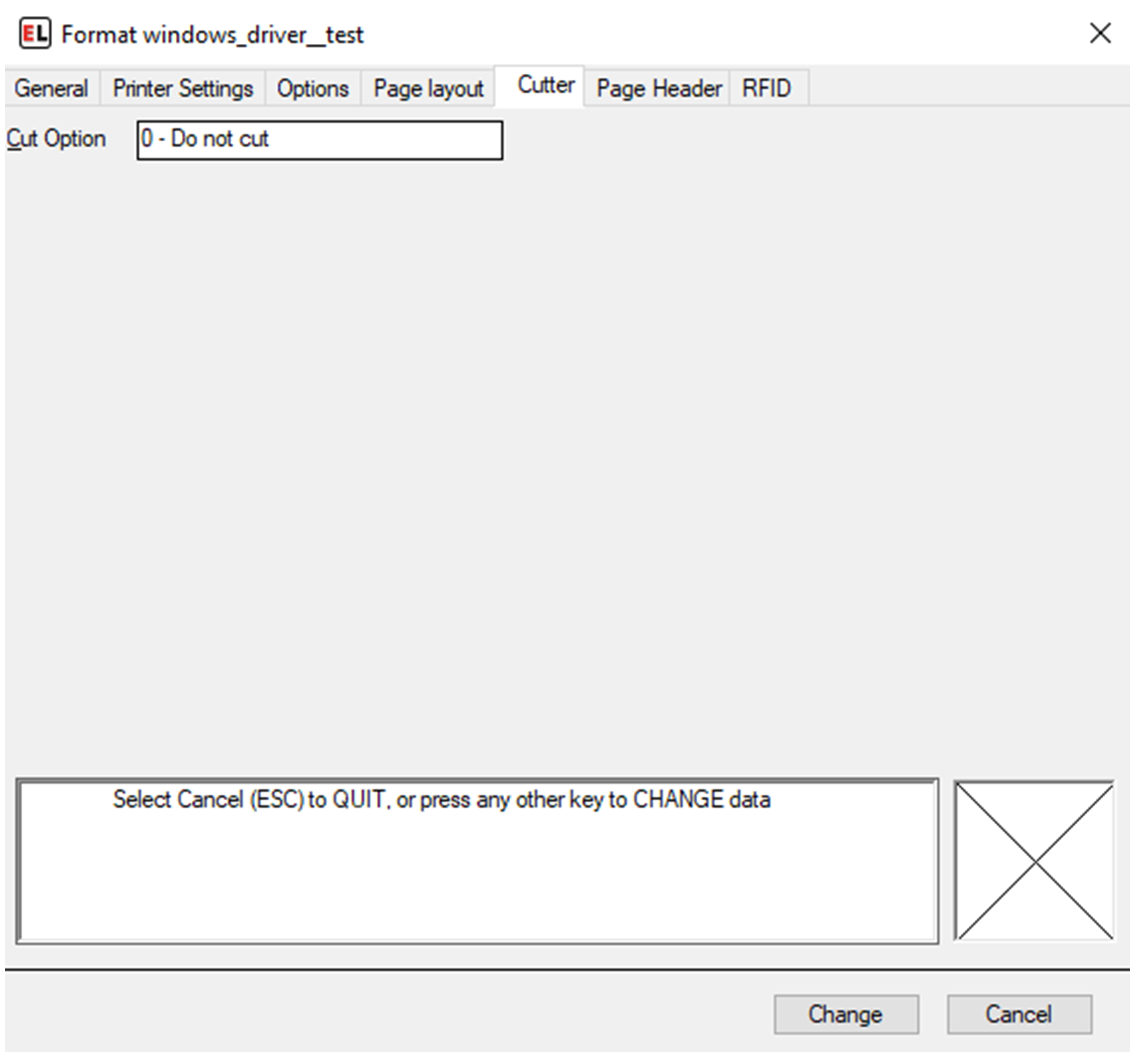
The cutter option is available under Additional Options on the Printer Settings tab. If using an EasyLabel internal driver, cutter options will be available for cutter-enabled printers through this menu. For more information see the cutter tab section for internal drivers.
Page Header Tab
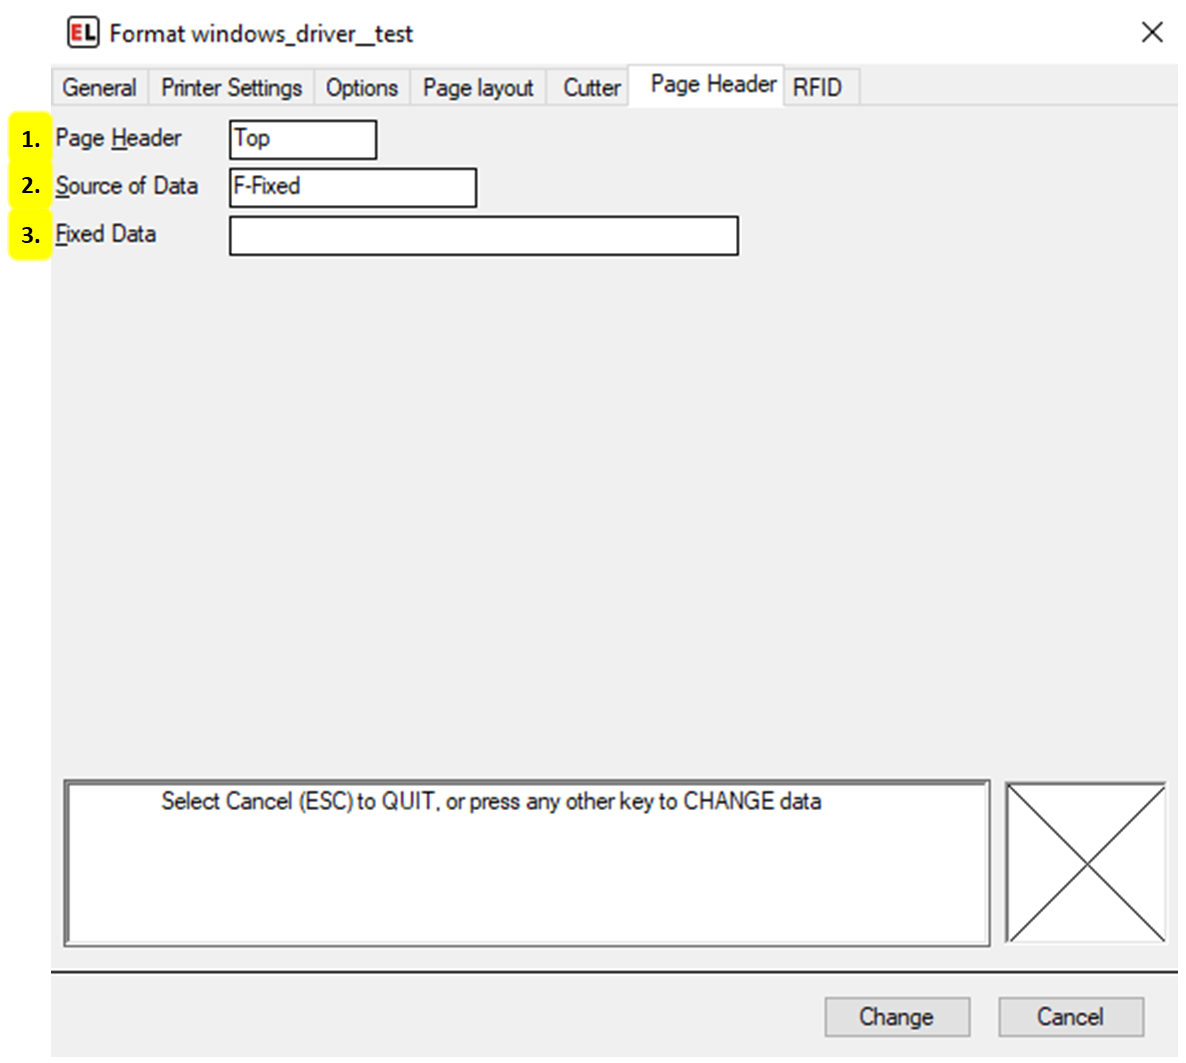
Page Header
Select between Top and Side to determine the location of the optional page header.
Source of Data
Select the type of source for the field.
Fixed Data
Enter the fixed value for the page header contents.
RFID Tab
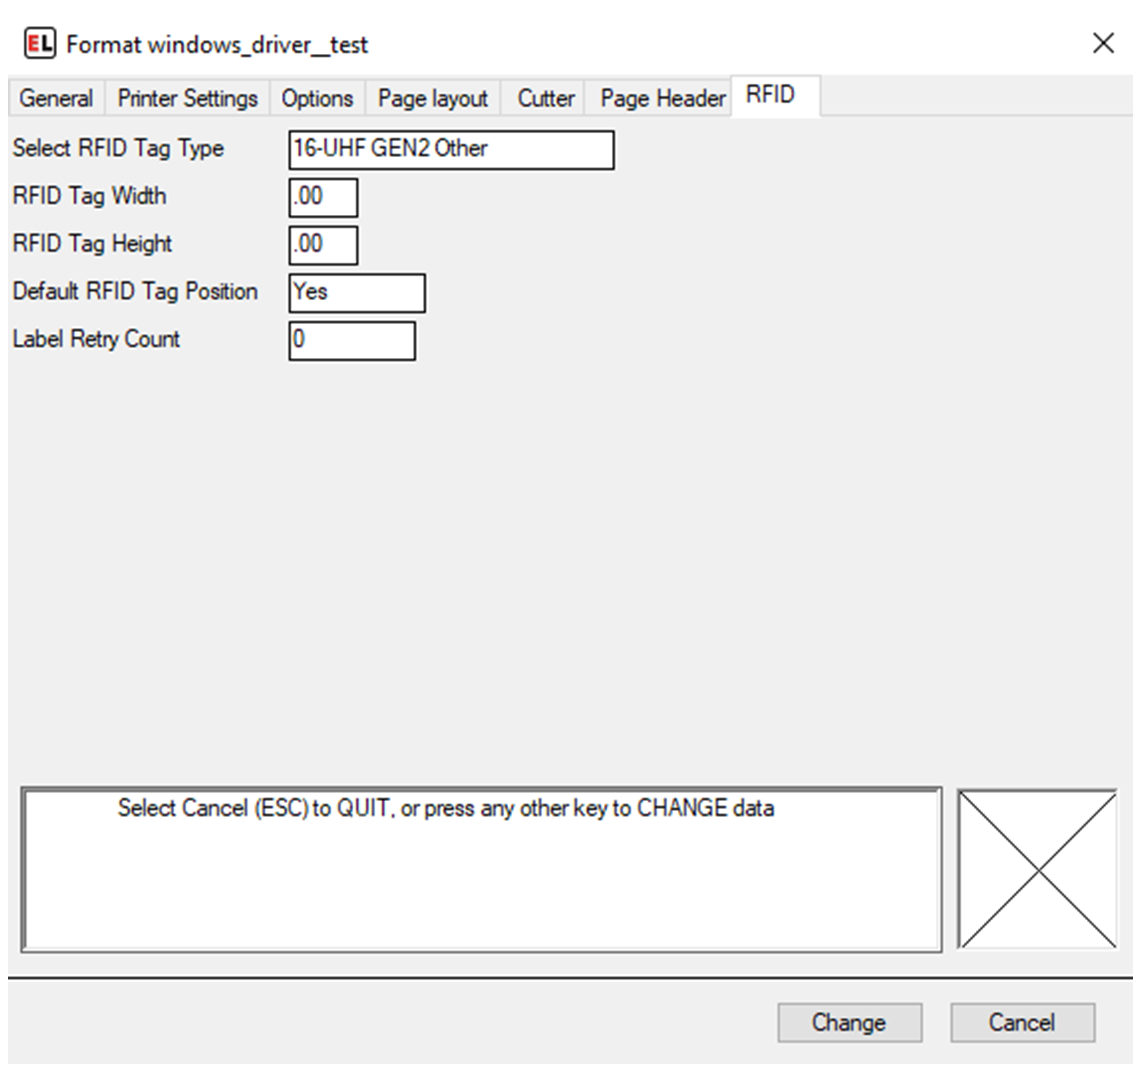
If using an EasyLabel internal driver, RFID options will be available for select printers. For more information see the rfid tab section for internal drivers
